|
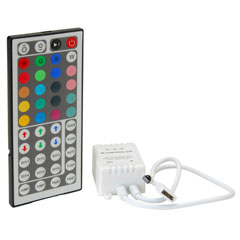
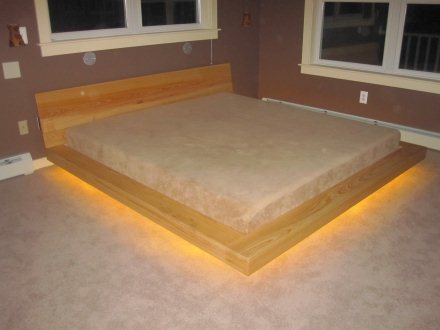
Now offering LED under bed light kit.
Dimmable, and color changing with remote control-er.
A very good deal for $175, and easy to install.
LED lights videos:
Overview
Create your own custom lighting with RGB LED tape strips. Pre-applied 3M adhesive attaches
to almost any surface and the sealed design is impact resistant and weatherproof. This 196.8" long strip features 300 RGB
LEDs and can be cut to custom lengths. Highlights
- 300 LEDs with seven different color combinations
- Longer life and lower power consumption compared to rope lights
- Connects to LED remote control units for custom effects
- Impact resistant and weatherproof for outdoor use with 3M adhesive backing
<DIV align=center> The only tools needed are a drill driver and a 7/16 socket wrench. </DIV>
<DIV align=center>The average bed comes in 3 boxes that are 7 feet long and narrow, and weigh about 75 pounds.</DIV>
<DIV align=center>All the major components are ready to assemble. The corners are bolted together , the slats laid
in, and then the headboard screwed on. Thats it. It will take 2 people </DIV>
<DIV align=center>(or one strong person) and about an hour</DIV>
<DIV align=center>.................</DIV>
<DIV align=center>
<P>instructions for deck bed and wing tables:</P>
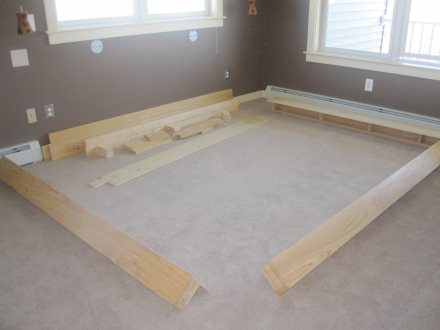
<P>1. Carefully open boxes in a different room and take pieces into bedroom as you need them.</P>
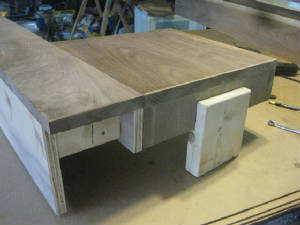
<P>2. Lay the 2 bed side deck assemblies on the floor in approximate final location.</P>
<P>3. lay the deck assemblies on their side and match up the corresponding tables.</P>
<P> The tables should stick up vertically so as to make it easy to attach them with the 2 bolts.
as yo tighten the nuts with a 7/16" wrench, make sure the table top surface is flush with the top surface
of the deck. There is a little wiggle room. It's easy!</P>
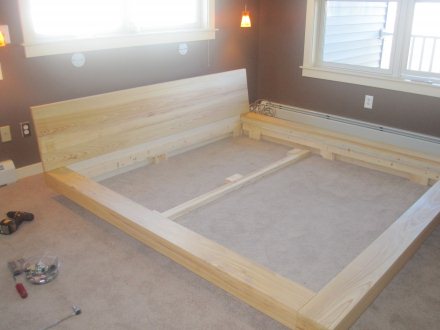
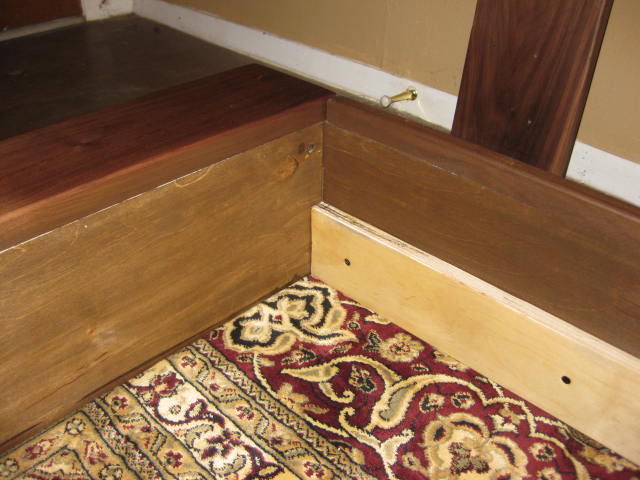
<P> 4. With a friend to help, bolt the sub-headboard to the side deck ends. Match up the numbers in</P>
<P> order. Everything is marked.. Try to keep the tables as horizontal as possible as you tighten. </P>
<P>5. Bring in the foot end deck assembly and bolt it onto the foot end of the side decks. Keep</P>
<P> everything level. It should look like a bed by now!</P>
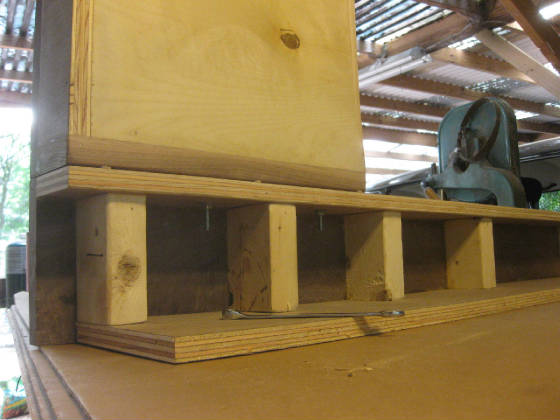
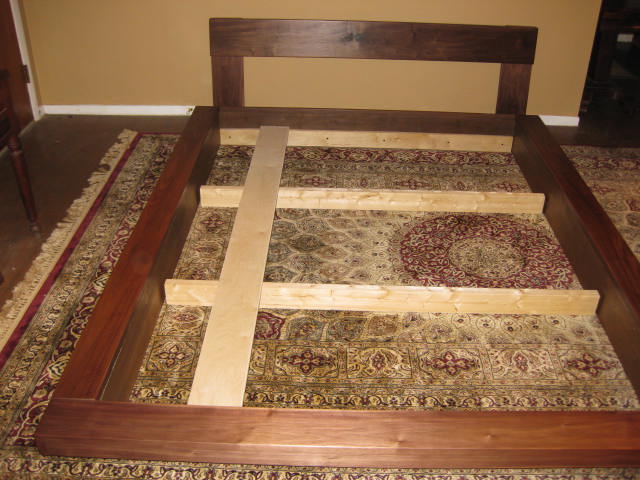
<P>6. Bring in the slat supports. The supports go across from side to side. Don't install the actual slats (mattress
boards) yet.</P>
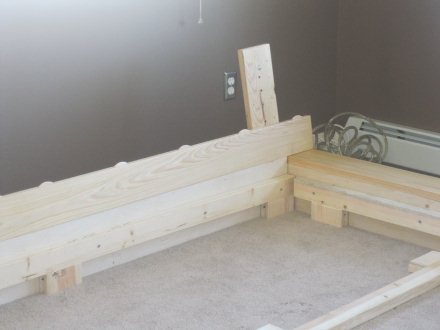
<P>7. Lets get to the headboard. Bring in the H B support boards. Screw these to the back of the sub-headboard.
If your support boards go behind the tables, screw then into the table backs for extra table support. Keep the tables
horizontal first.</P>
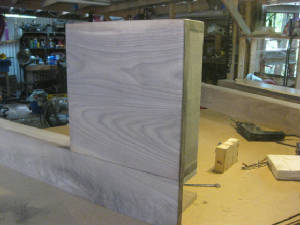
<P>8, If you have separate boards for your headboard, bring them in and stack them against the H B supports. You
will have small wood biscuits to hold the boards together. Don't use any glue .</P>
<P> Push and tap the boards tightly together, then screw the H B supports into the H B from behind to hold
everything together. Use the right size screws supplied so the screw point doesn't poke through.. You will be proud
of your accomplishment! </P>
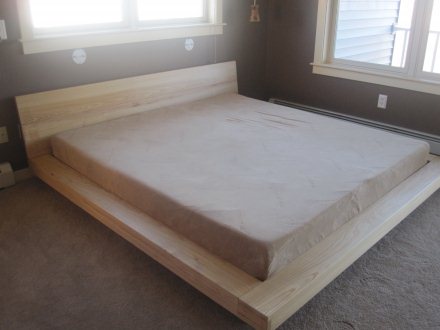
<P>When you are satisfied, slide your bed into its final place.</P>
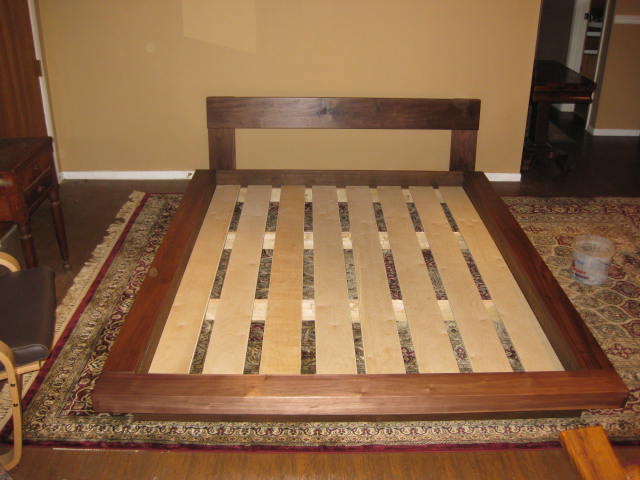
<P>9. Now you can lay in the mattress slats. Just space them out and screw down. Enjoy!</P></DIV>
| 5 Pictures of Annie P's Cypress bed 5/15/2011 |
|
|
| SSHOWING HEADBOARDS BEING STACKED ONTO THE SUPPORTS |
Annie writes:
Good evening Gus,
I hope all is well with you.
At last my husband and I finally put our bed together at the end of May.
We love it and I am so glad we took the lights underneath the bed.
|